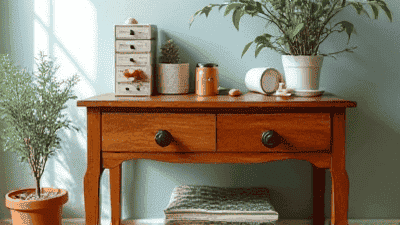
Wooden furniture and surfaces bring warmth and character to any home. However, over time, they can suffer from scratches and gouges due to daily wear and tear, accidents, or even improper care. Thankfully, many of these imperfections can be easily repaired using simple techniques that restore the wood's appearance without the need for professional help. In this comprehensive guide, we will explore various wood repair techniques that can help you fix scratches and gouges, allowing you to maintain the beauty of your wooden furniture and surfaces.
Before delving into repair techniques, it’s essential to understand the characteristics of wood and how it responds to damage. Wood is a natural material that is subject to changes in humidity and temperature, which can affect its structure and finish. It is also a porous material that absorbs stains and finishes differently based on the species, age, and condition of the wood. Understanding these factors will help you choose the appropriate repair methods for your specific needs.
Wood finishes protect the surface of the wood and enhance its natural beauty. However, the type of finish used can affect how you approach repairs. Common types of finishes include:
Oil-Based Finishes: Penetrate the wood, providing a rich, warm tone. These finishes often require oil-based products for repairs.
Water-Based Finishes: Dries quickly and is easier to clean up, but may not penetrate as deeply into the wood. Water-based cleaners and fillers should be used for repairs.
Varnish: Creates a hard protective coating on the surface. Repairs may require the use of varnish or a compatible topcoat.
Paint: Provides a complete color change and protection. Touch-ups can often be achieved with matching paint.
Before you can begin repairing, you need to assess the damage. To do this, check for the following:
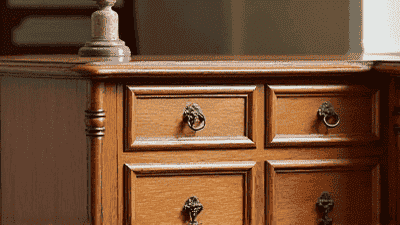
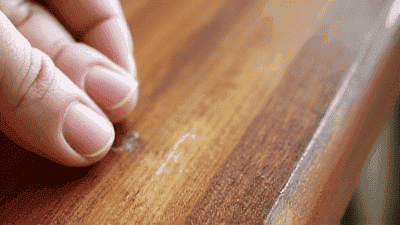
Scratches are shallow marks on the surface of the wood and can usually be felt with your fingernail. They may vary in depth and severity.
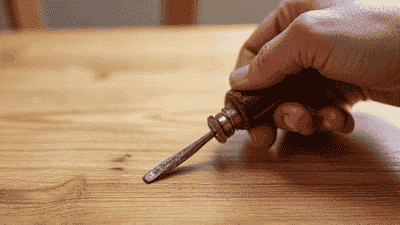
Gouges are deeper indentations that penetrate the surface of the wood, often resembling a small hole or divot. These require more extensive repair work than scratches.
Determine the color and finish of your wood. The repair will need to match the original color and sheen to ensure a seamless blend.
Below are several straightforward techniques you can use to repair scratches and gouges in wooden surfaces. Each method is tailored to the type of damage and the finish of the wood.
Wax sticks and fillers are an easy way to fill in minor scratches:
Choose the Right Color: Select a wax stick or filler that matches the wood color. There are many options available that correspond to various wood types.
Application: Simply rub the wax stick over the scratch, allowing the wax to fill the area. For filler, use a putty knife to apply it, pressing it into the scratch.
Buffing: After filling, use a soft cloth to buff the area lightly, blending the repair with the surrounding finish.
This simple home remedy can help reduce the visibility of scratches:
Mix Solution: Combine two parts olive oil with one part vinegar in a small bowl.
Application: Dab the mixture onto the scratched area with a soft cloth, rubbing it in circular motions.
Buff: Allow it to sit for a few minutes, then buff the area to a shine with a clean cloth. This method works best on minor surface scratches and revitalizes the wood.
Natural oils from nuts can help conceal scratches on finished wood:
Rubbing Technique: Simply rub the walnut or Brazil nut over the scratch, applying firm pressure. The natural oils will penetrate the wood, darkening the scratch and making it less visible.
Buffing: Afterward, wipe off any excess residue with a soft cloth.
For deeper gouges, wood filler can work wonders:
Clean the Area: Use a damp cloth to clean the gouged area, removing any dust or debris.
Application: Use a putty knife to apply wood filler, pressing it into the gouged area. Overfill slightly to ensure it protrudes above the original wood surface.
Drying Time: Allow the filler to dry completely as per the manufacturer's instructions.
Sanding: Once dry, sand the area with fine-grit sandpaper until level with the surrounding wood surface. Always sand in the direction of the wood grain.
Finishing Touch: If your wood has an existing finish, apply it over the filled area, blending it in with the rest of the surface.
For larger gouges, a two-part epoxy resin can offer a strong repair:
Preparation: Mix the epoxy resin as per the manufacturer's instructions. Ensure you're working in a well-ventilated area.
Application: Use a putty knife or a small applicator to fill the gouge completely with the epoxy mixture. Make sure to slightly overfill to account for shrinkage as it cures.
Curing: Allow it to cure fully, usually 24 hours, according to the instructions.
Sanding: Once cured, sand it down to the original surface level.
Finishing: Match the finish to the existing wood by applying a topcoat as needed.
When the scratch or gouge has resulted in damage to the finish as well, it’s essential to address both the surface and the underlying wood.
For minor touch-ups:
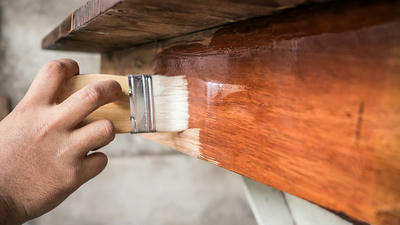
Select Appropriate Finish: Choose a lacquer or varnish that matches the wood’s current finish.
Application: Use a small brush to apply the finish directly onto the damaged area. Feather the edges to blend with the existing finish.
Drying: Allow it to dry fully, and apply additional coats as needed until the repair is seamless.
For larger areas with extensive finish damage:
Sanding: Start by sanding the damaged area with fine-grit sandpaper, being careful to follow the grain of the wood. Sand only the damaged area to avoid affecting the surrounding finish.
Cleaning: Wipe the area clean of dust and debris.
Re-Staining: If the finish below the topcoat is exposed, apply a matching stain, using a brush or cloth to blend it. Allow it to dry according to the manufacturer's instructions.
Applying a New Finish: Once the stain is dry, apply a coat of clear finish matching the original to protect the area.

To enhance your skills in wood repair and ensure the best possible outcome, consider the following additional tips:
Always perform a test on an inconspicuous area of the wood before applying any repair materials to ensure they do not alter the finish or color adversely.
Using the right tools can make the repair process smoother. Invest in quality putty knives, sandpaper, and brushes to ensure the best results.
Many wood repair products emit fumes that can be harmful if inhaled. Ensure proper ventilation when using products such as wood fillers, adhesives, or finishes to protect your health.
Repairs may take time to complete, particularly when allowing fillers or finishes to dry fully. Rushing the process may lead to unsatisfactory results.
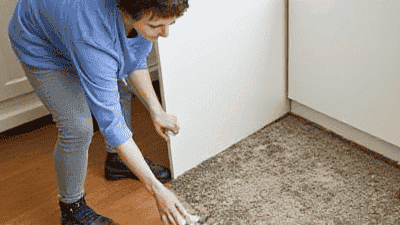
To minimize future damage, consider implementing preventive measures such as:
Simple wood repair techniques, such as fixing scratches and gouges, are within reach for most DIY enthusiasts. Whether using a wax stick for minor scratches or applying filler and epoxy for more severe gouges, these methods can help restore the beauty of your wooden furniture and surfaces.
Being proactive about repairs and preventative care can significantly extend the life of your wooden pieces. With some practice and patience, you can ensure that your wooden furniture remains a source of pride in your home for many years to come. By following the methods outlined in this guide, you can tackle the challenges posed by scratches and gouges with confidence, preserving the character and charm of your wooden furniture. Feel free to embrace the process, and enjoy the satisfaction that comes with restoring your cherished items to their original glory.